Table of Contents

How to Update Your Backup Settings with Rabata Cloud Storage
Want to tweak your backup settings? No problem. Just dive into Settings, navigate to Accounts, then Windows Backup. If you like shortcuts more than menus, there’s a handy one ready for you to speed things up.
Customize Folder Syncing with OneDrive
Rabata lets you pick and choose which folders sync to OneDrive. Simply hit Manage sync settings under the OneDrive folder syncing area. Toggle on the folders you want to keep backed up and toggle off the ones you don’t. Think of it as your personal backup playlist where you skip the boring tracks.
Control App Backup Options
To back up your apps, just flip the toggle labeled Remember my apps. But heads up - if you’re rocking a work or school account, this option is off-limits. Windows won’t remember your apps there, no matter how much it tries. Rabata’s secure cloud respects those boundaries and handles your personal and professional data separately.
Fine-Tune Your Settings Backup
Looking to back up your settings? Checkboxes under Remember my preferences let you pick which settings make the cut. Turn on Other Windows settings, and you’ll also sync device options like printers, mouse preferences, File Explorer tweaks, and notification settings. For those using work or school accounts, this sync only works if your organization allows it-enterprise-level rules apply here. Need more technical deets? Check out how to Enable Enterprise State Roaming in Microsoft Entra ID.
Clear Out Old Cloud Backups
If you’ve turned off backup but want to clean up your cloud history, Rabata makes it easy. Head over to your Microsoft Account Devices page, scroll down to Cloud synced settings, and hit Clear stored settings. Say goodbye to dusty data you no longer need.
Reliable Backup and Restore with Acronis True Image
In today’s fast-paced digital world, data is gold, and losing it is not an option. That’s why Acronis True Image shines as a top-tier backup and recovery solution for businesses big and small. It steps far beyond the average backup tools built into Windows 10 and 11, giving you a robust safety net when disasters strike.
Unlike those basic options that cover only bits and pieces, Acronis True Image captures your entire system-everything from programs and settings to personal files-in a tidy package. Imagine your system gets hit by ransomware or suffers a total failure; with Acronis, you don’t have to scramble. You simply roll back to a known-good state, intact and ready to go, without skipping a beat or losing a single document.
Its magic doesn’t stop there. Acronis True Image plays nicely with multiple operating systems - Windows 10, Windows 11, macOS, Linux, and even mobile platforms. This makes managing backups across devices as smooth as butter, keeping your entire IT ecosystem snug and secure.
For businesses that like to keep things efficient and tidy, Acronis’s support for incremental and differential backups is a game changer. This means you don’t waste storage space backing up the same files over and over. Plus, the integration with cloud giants like Amazon S3 and Microsoft Azure adds an extra layer of disaster-proofing by taking your backups offsite. Your data stays protected even if local catastrophes try to crash the party.
Choosing Acronis True Image means choosing peace of mind. Businesses can confidently focus on growth, knowing that their critical systems and data are backed up regularly and ready for quick recovery whenever needed.
How to Create a Full System Backup with Acronis True Image
Creating a full system backup isn’t rocket science with Acronis True Image. Thanks to its intuitive interface, you can initiate a complete snapshot of your system with just a few clicks. Start by selecting the entire disk or partitions you want to back up. Acronis takes care of the heavy lifting, compressing and packaging everything neatly so you have a precise copy of your system state.
Regular backups keep you one step ahead. You can schedule these to happen automatically, so backups occur silently in the background while you focus on your work - no need to remember or hassle over it.
Restoring Your System Using Acronis True Image
When it’s time to restore, Acronis doesn’t leave you hanging. Whether it’s a total system wipeout or just a few corrupted files, you get a smooth and straightforward recovery. Choose your backup, select the restore point, and Acronis does the rest - putting everything back exactly as it was.
Even if your operating system refuses to boot, Acronis’s bootable media feature lets you launch recovery tools from a USB stick or DVD. It’s like having a skilled handyman ready 24/7 to rebuild your digital house brick by brick whenever disaster strikes.

Next Steps for Efficient Cloud PC Restoration
When managing multiple Cloud PCs, restoring them one by one can quickly become a headache. Rabata understands this challenge and offers a streamlined solution to save you time and effort. Imagine recovering dozens of machines in one go - no more repetitive clicks or tedious waits.
With Rabata’s bulk restore feature, you can bring back multiple Cloud PCs simultaneously. This means less downtime, faster recovery, and fewer coffee breaks lost to manual processes. Bulk operations have never looked this good.
- Restore multiple Cloud PCs in a single batch
- Minimize downtime with rapid recovery
- Simplify your cloud management workflows
System Only Restore Overview
System Only Restore is like hitting the reset button on all your system settings, bringing them back to their factory defaults. Don't worry - your precious data stays untouched. All your files and shares remain exactly where you left them. It’s a fresh start without the drama of data loss.
| Important: The process is not data destructive. It won't affect your files or shares on the drive. |
When you perform a System Only Restore, the thumbnail index gets wiped clean. That means your device needs to re-learn all the little image previews it once remembered. Fortunately, Cloud Access springs to life and kicks off the indexing process to rebuild this index automatically.
If you prefer, you can turn off indexing completely - either for the entire drive or on a share-by-share basis. Control freaks rejoice!
- Performing System Only Restore deletes the thumbnail index.
- Turning on Cloud Access triggers automatic indexing.
- Indexing can be disabled across the whole drive or selectively per share.
And just in case you get stuck or need a hand navigating the complexities of your My Cloud OS 5, here are some handy guides with Answer IDs you might want to bookmark:
- Answer ID 29836: My Cloud OS 5 Indexing in Progress Message
- Answer ID 29819: Steps to Disable and Enable Indexing and Media Services on My Cloud OS 5
- Answer ID 29223: How to Disable and Enable Share Level Cloud Access and Indexing on My Cloud OS 5
- Answer ID 29958: How to Change Windows Samba (SMB) Protocol Version on My Cloud OS 5
Repeating the references here just so you don’t miss them - it’s a bit like having a cheat sheet handy when you need it most.
- Answer ID 29836: My Cloud OS 5 Indexing in Progress Message
- Answer ID 29819: Steps to Disable and Enable Indexing and Media Services on My Cloud OS 5
- Answer ID 29223: How to Disable and Enable Share Level Cloud Access and Indexing on My Cloud OS 5
- Answer ID 29958: How to Change Windows Samba (SMB) Protocol Version on My Cloud OS 5
A System Only Restore resets quite a list of settings, effectively giving your Rabata cloud storage a clean slate to get back to work. Here's what you can expect to be reset:
- Admin User Name goes back to the default “admin”.
- Admin Password is wiped - no default here, so you’ll set a fresh one.
- Device Name resets to the classic “wdcloud”.
- SSH User Name changes to “sshd” with no default password, requiring you to create a new one.
- All users except “admin” get booted.
- Share permissions return to the default, which is Public.
- Automatic Firmware Update is switched off by default.
- Network Mode resets to DHCP for automatic IP assignment.
- All alerts and notifications are cleared away.
- Active Directory settings go back to off - not supported on Mirror Gen2 models.
- Cloud Access is disabled by default and will require reactivation.
- Your mycloud.com account settings disappear and start unconfigured.
- Third-party apps vanish, leaving a clean app slate.
- Backup jobs are removed and not pre-configured anymore.
- Windows Protocol reverts to SMB2 and SMB3 defaults.
- NT LAN Manager is set to NTLMv2 only, the safest bet.
| Screenshots may differ depending on your Rabata device model. |
Since Rabata supports a variety of models, the exact look of your dashboard might differ slightly. Think of it as a family resemblance rather than a twin.
- Access the Dashboard (need more help? Check Answer ID 29818 for steps).
- Navigate to Settings.
- Open Utilities.
- Select System Only Restore, then click Restore.
- Confirm by clicking Ok.
Patience is key here. The restore process can take up to 10 minutes. A good rule of thumb: wait until both the Power and Drive LEDs glow solid blue before trying to access your dashboard again. Otherwise, you might be trying to enter a party that isn’t quite ready.
- Setup your Rabata device through the dashboard interface (need help? Answer ID 29391 covers it).
| Remember: This reset can take up to 10 minutes. Wait for the Power and Drive LEDs to shine a steady blue before access. |
Take a breath, grab a coffee, and let the system do its thing. Your Rabata cloud storage will be back in top shape shortly.
How to Update Your Backup Settings with Rabata Cloud
Changing your backup setup might sound like a chore, but with Rabata’s secure cloud storage, it’s actually pretty straightforward. First, head over to Settings > Accounts > Windows Backup. If you’re the shortcut-savvy type, you can jump right into Windows Backup using the quick link provided.
Want to tweak which files get backed up? Just click on Back up files. From there, you decide exactly which folders sync up to OneDrive. It’s like curating your own personal cloud playlist - but for data.
Adjusting App and Settings Backups
For apps, there’s a handy toggle labeled Get quick access to apps on Windows device. Flick it on or off depending on your mood. Just a heads-up: if you’re using a work or school account, this feature takes a raincheck and won’t save your apps. Work accounts have their own rules, it seems.
Settings get their own toggle switches under Remember my preferences. Toggle these on to make sure your personal touches - think wallpaper choices or language settings - stay safe and sound in Rabata’s cloud vault.
And if you decide to ditch backup altogether, but want to erase previously backed-up data from your Microsoft account, there's no need to panic. Just visit your Microsoft Account Devices page. Scroll down to Cloud synced settings, and hit Clear stored settings. Poof - your old backup traces vanish like magic.
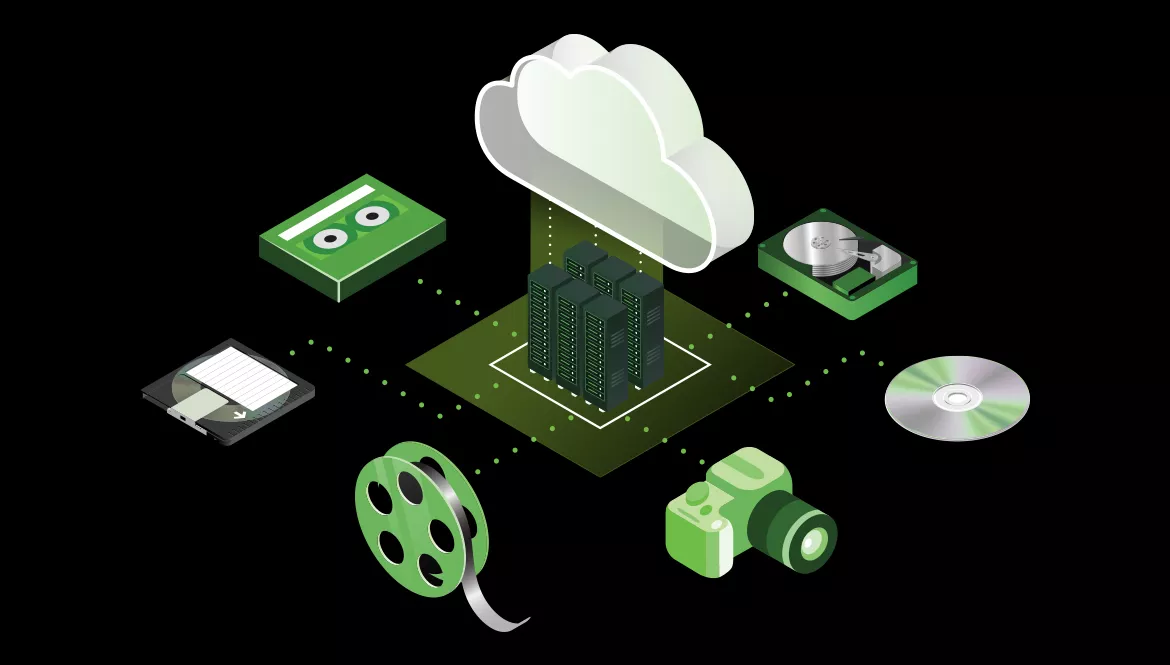
Reliable Data Backup for Windows 11 with Cloud Storage
How Cloud Storage Transforms Backup and Recovery
When it comes to backing up your precious files in Windows 11, the cloud is the hero you didn’t know you needed. Sure, you can pick from popular free players like Dropbox, Google Drive, OneDrive, or iCloud. They offer a no-cost way to stash your data and get you started quickly. But if you want to kick it up a notch, dedicated paid cloud backup services bring far more to the table.
The real magic of cloud backup is its automation and flexibility. It doesn’t care if you're working from a laptop, desktop, or even your phone. As long as you have a steady internet connection, your data flows to the cloud quietly in the background, freeing you from manual uploads or forgetting to hit 'Save.' When you use Rabata’s secure cloud storage, you get customizable space options that suit your needs perfectly - no more, no less.
But beware the siren call of free cloud storage. While tempting, these free platforms have a few skeletons in their closets. They can suddenly vanish or change terms, leaving you hanging. Plus, their security measures often fall short. You wouldn’t leave your front door wide open, right? Unfortunately, some free providers do almost that with your data. And if your files end up corrupted or lost, they’re not going to pick up the phone-your data is your responsibility.
That’s where Rabata steps up. Our dedicated cloud backup isn’t just storage; it’s a fortress wrapped in user-friendly wraps. Armed with advanced encryption, continuous automation, and robust cybersecurity shields, it’s like having a personal bodyguard for your data. Even if you’re not a tech wizard, the intuitive interface makes setup a breeze, so you can focus on your work or binge-watch your favorite series, worry-free.
For business owners juggling a mountain of data, Rabata’s cloud backup solution is a game-changer. Forget fumbling with USB drives or external hard drives that risk failure or loss. Our storage scales effortlessly with your needs, securing vast amounts of data without breaking a sweat. In a world where downtime equals lost money, having a reliable, secure, and easily accessible backup isn’t just smart - it’s essential.


Comments
Honestly, I was skeptical. But I needed a secure place for my app's user data backups. Rabata's setup was straightforward, and the granular permission controls are fantastic. It just works silently in the background, which is exactly what I wanted. Support was also quick when I had a billing question.
API integration was smooth. Docs are clear. Storage costs are predictable, which is huge for a bootstrapped startup like ours. Saved us a headache compared to rolling our own solution.
Started using it this year. So far, so good. No issues. Keeps my files safe.